
How to Prepare Your Home for a Real Estate Photo Shoot


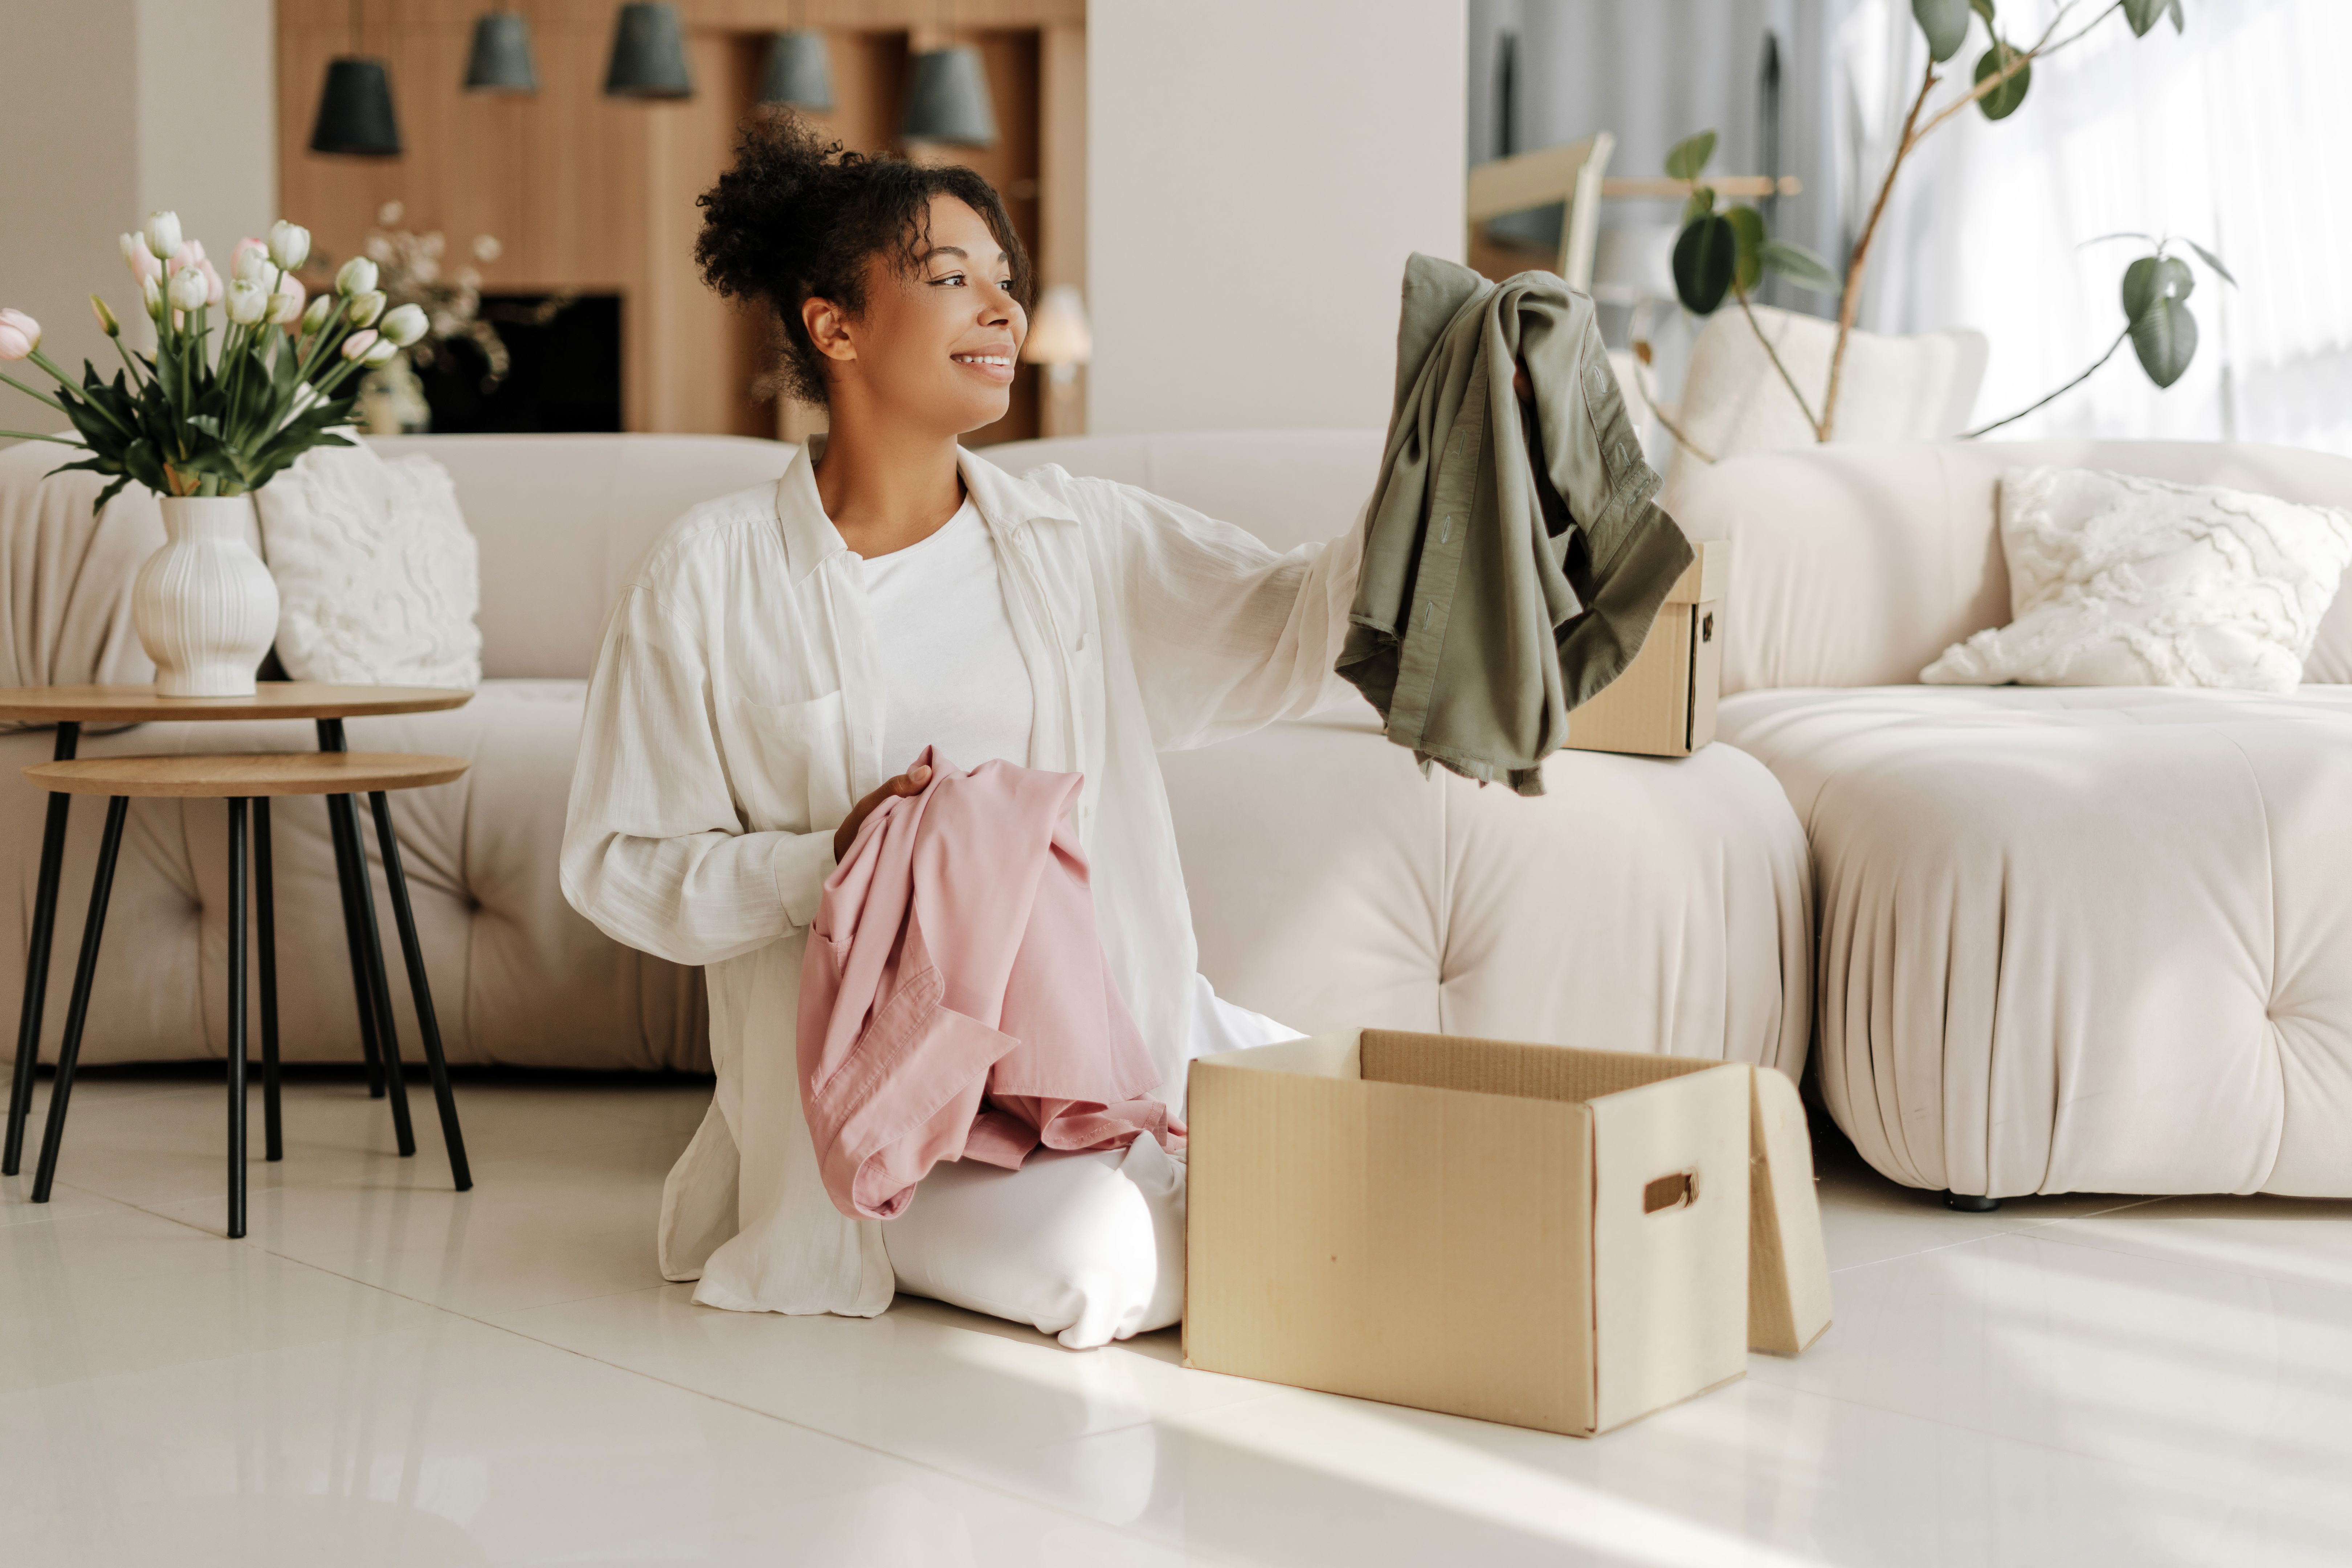
Declutter and Depersonalize
The first step in preparing your home for a real estate photo shoot is to declutter and depersonalize the space. This process involves removing personal items such as family photos, collectibles, and excess furniture that may distract potential buyers. A tidy, neutral space enables viewers to envision themselves living in the home. Consider storing these items in a temporary storage unit or a friend's garage to keep them out of sight during the shoot.
Additionally, aim to create a sense of spaciousness by minimizing clutter on surfaces like countertops, tables, and shelves. A clean, open area can make rooms appear larger and more inviting in photos.
Deep Clean Every Room
Once you've decluttered, it's time to give your home a thorough cleaning. Dust every surface, vacuum carpets, and mop hard floors. Pay special attention to areas that often go unnoticed during routine cleaning, such as baseboards, light fixtures, and ceiling fans. A spotless home will look more appealing in photographs and leave a positive impression on potential buyers.
Don't forget to clean windows inside and out. Sparkling windows will allow natural light to flood the rooms, enhancing the overall quality of the photos.
Enhance Curb Appeal
The exterior of your home is just as important as the interior when it comes to real estate photography. Start by mowing the lawn, trimming hedges, and adding fresh mulch to flower beds. Plant seasonal flowers or place potted plants at the entrance to create a warm and inviting atmosphere.
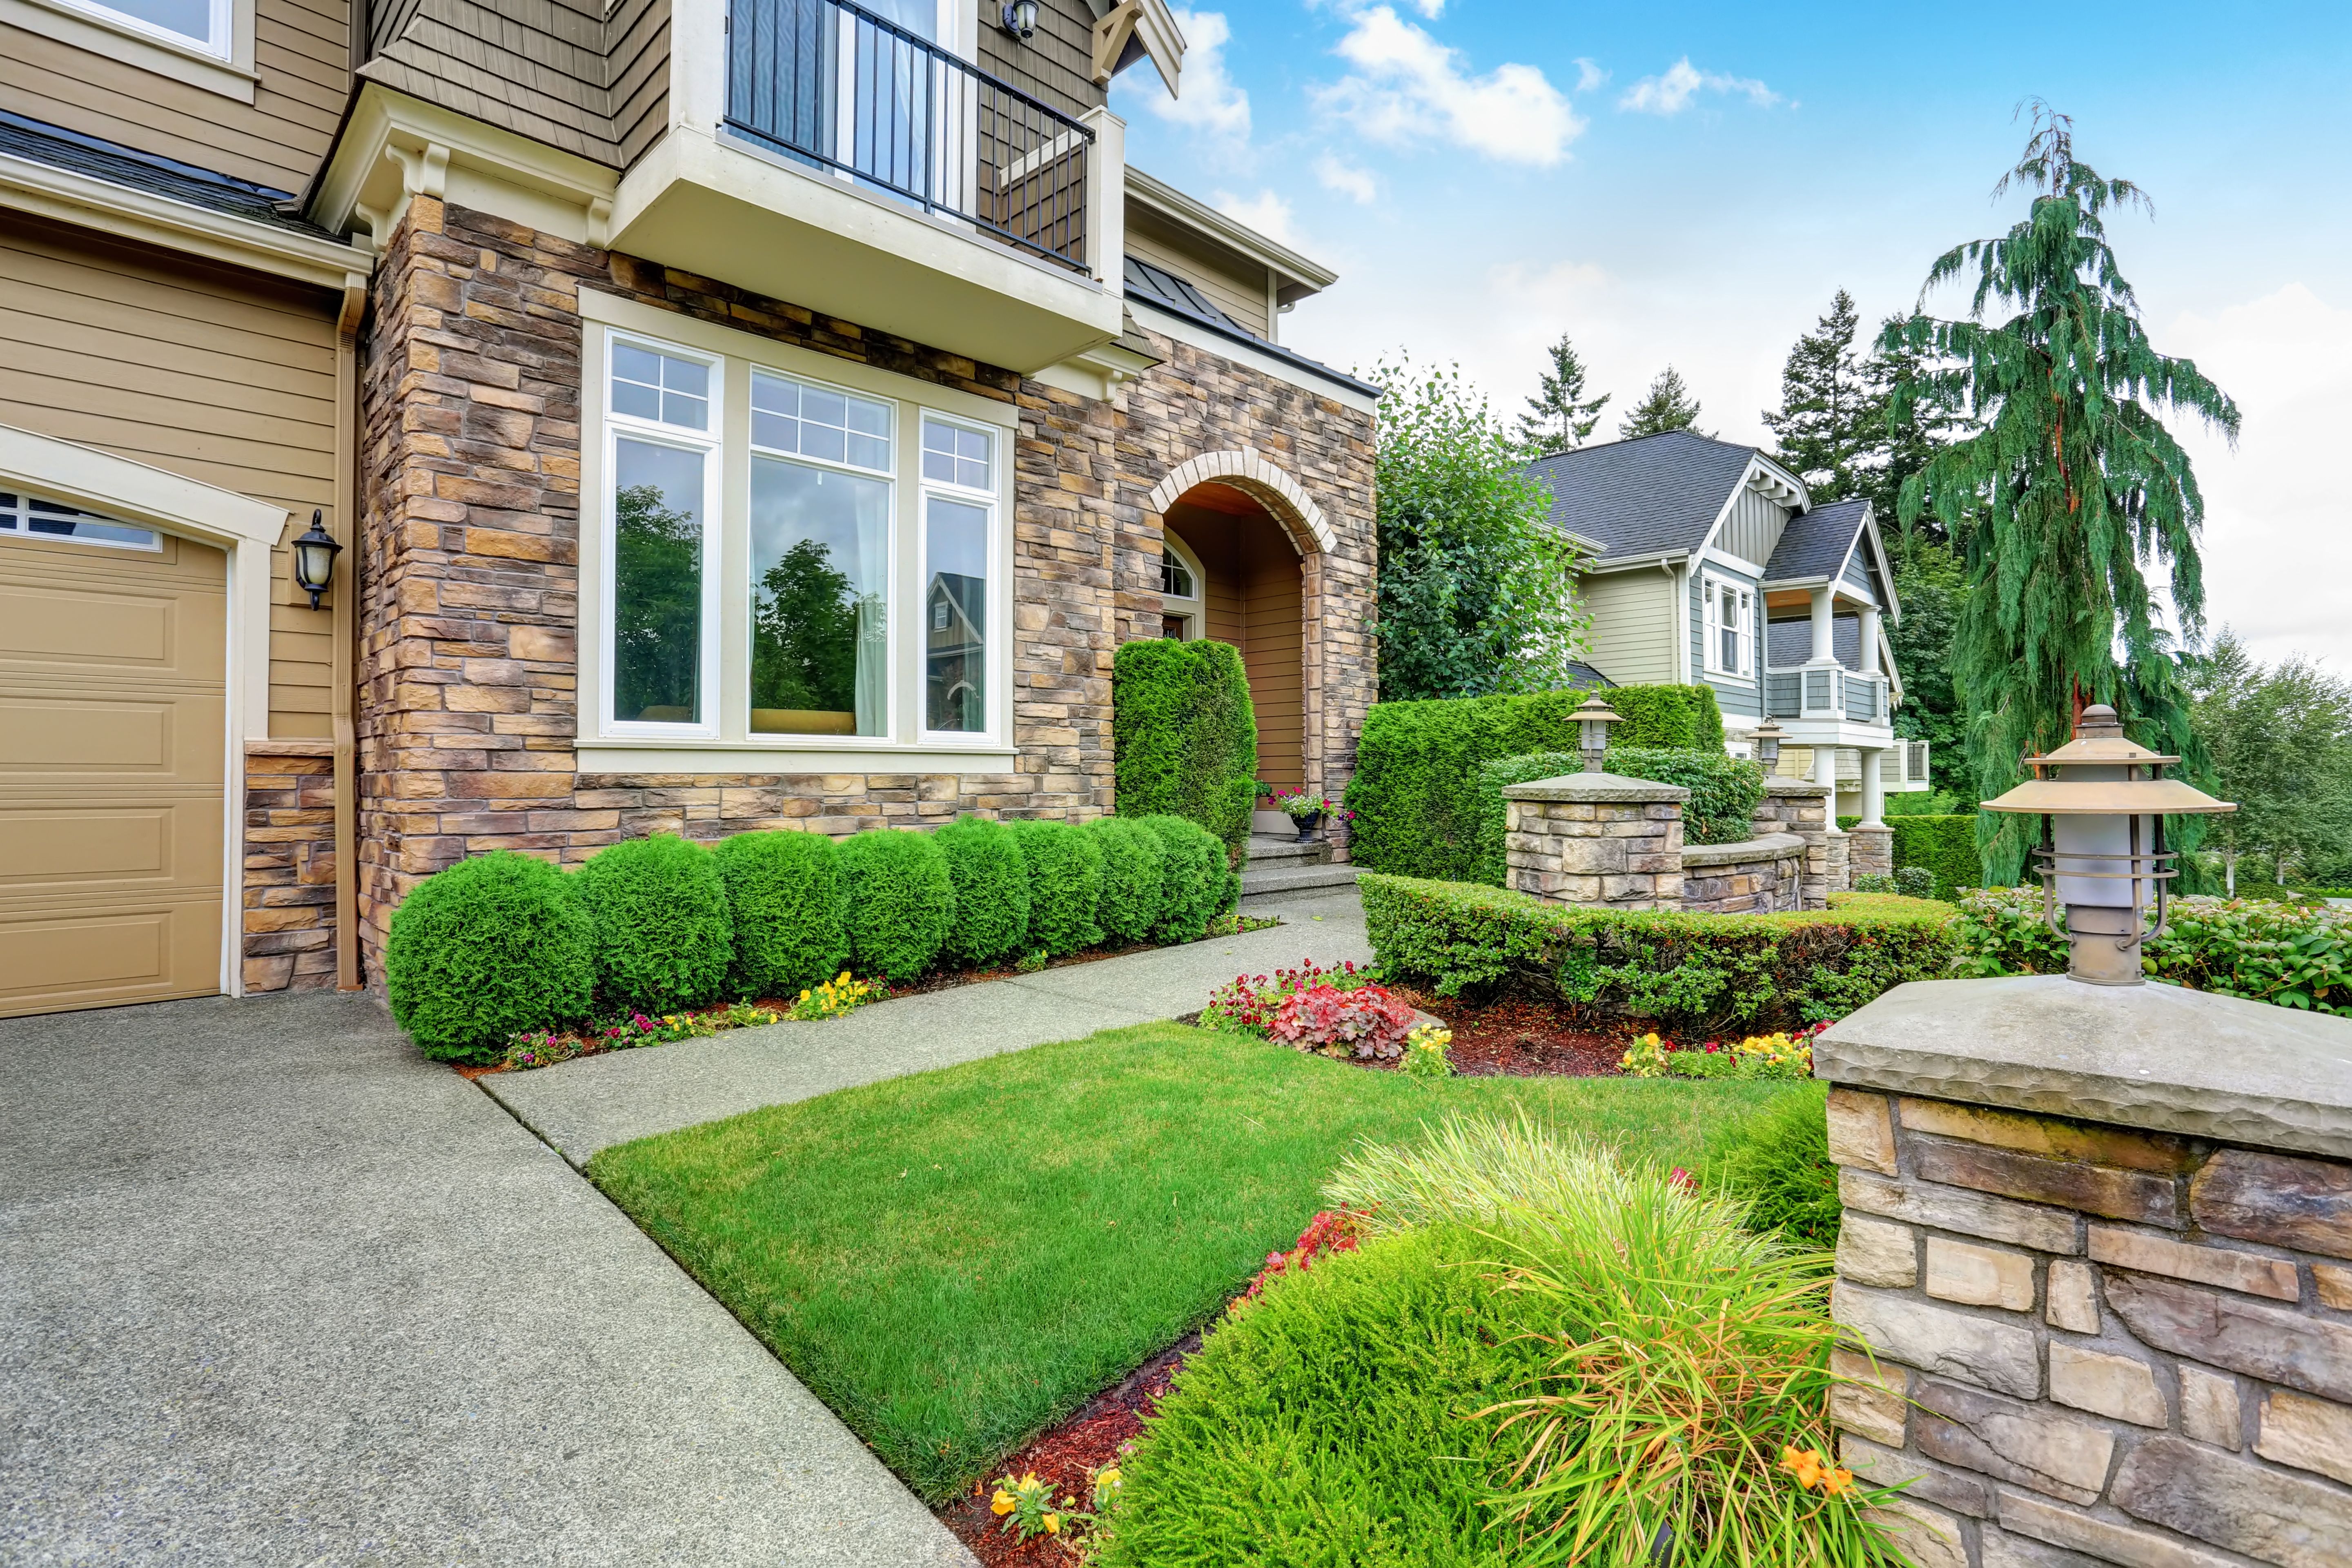
Ensure that driveways and walkways are free of debris or stains. Power washing these areas can significantly improve their appearance. Lastly, consider repainting or touching up your front door for an added pop of color.
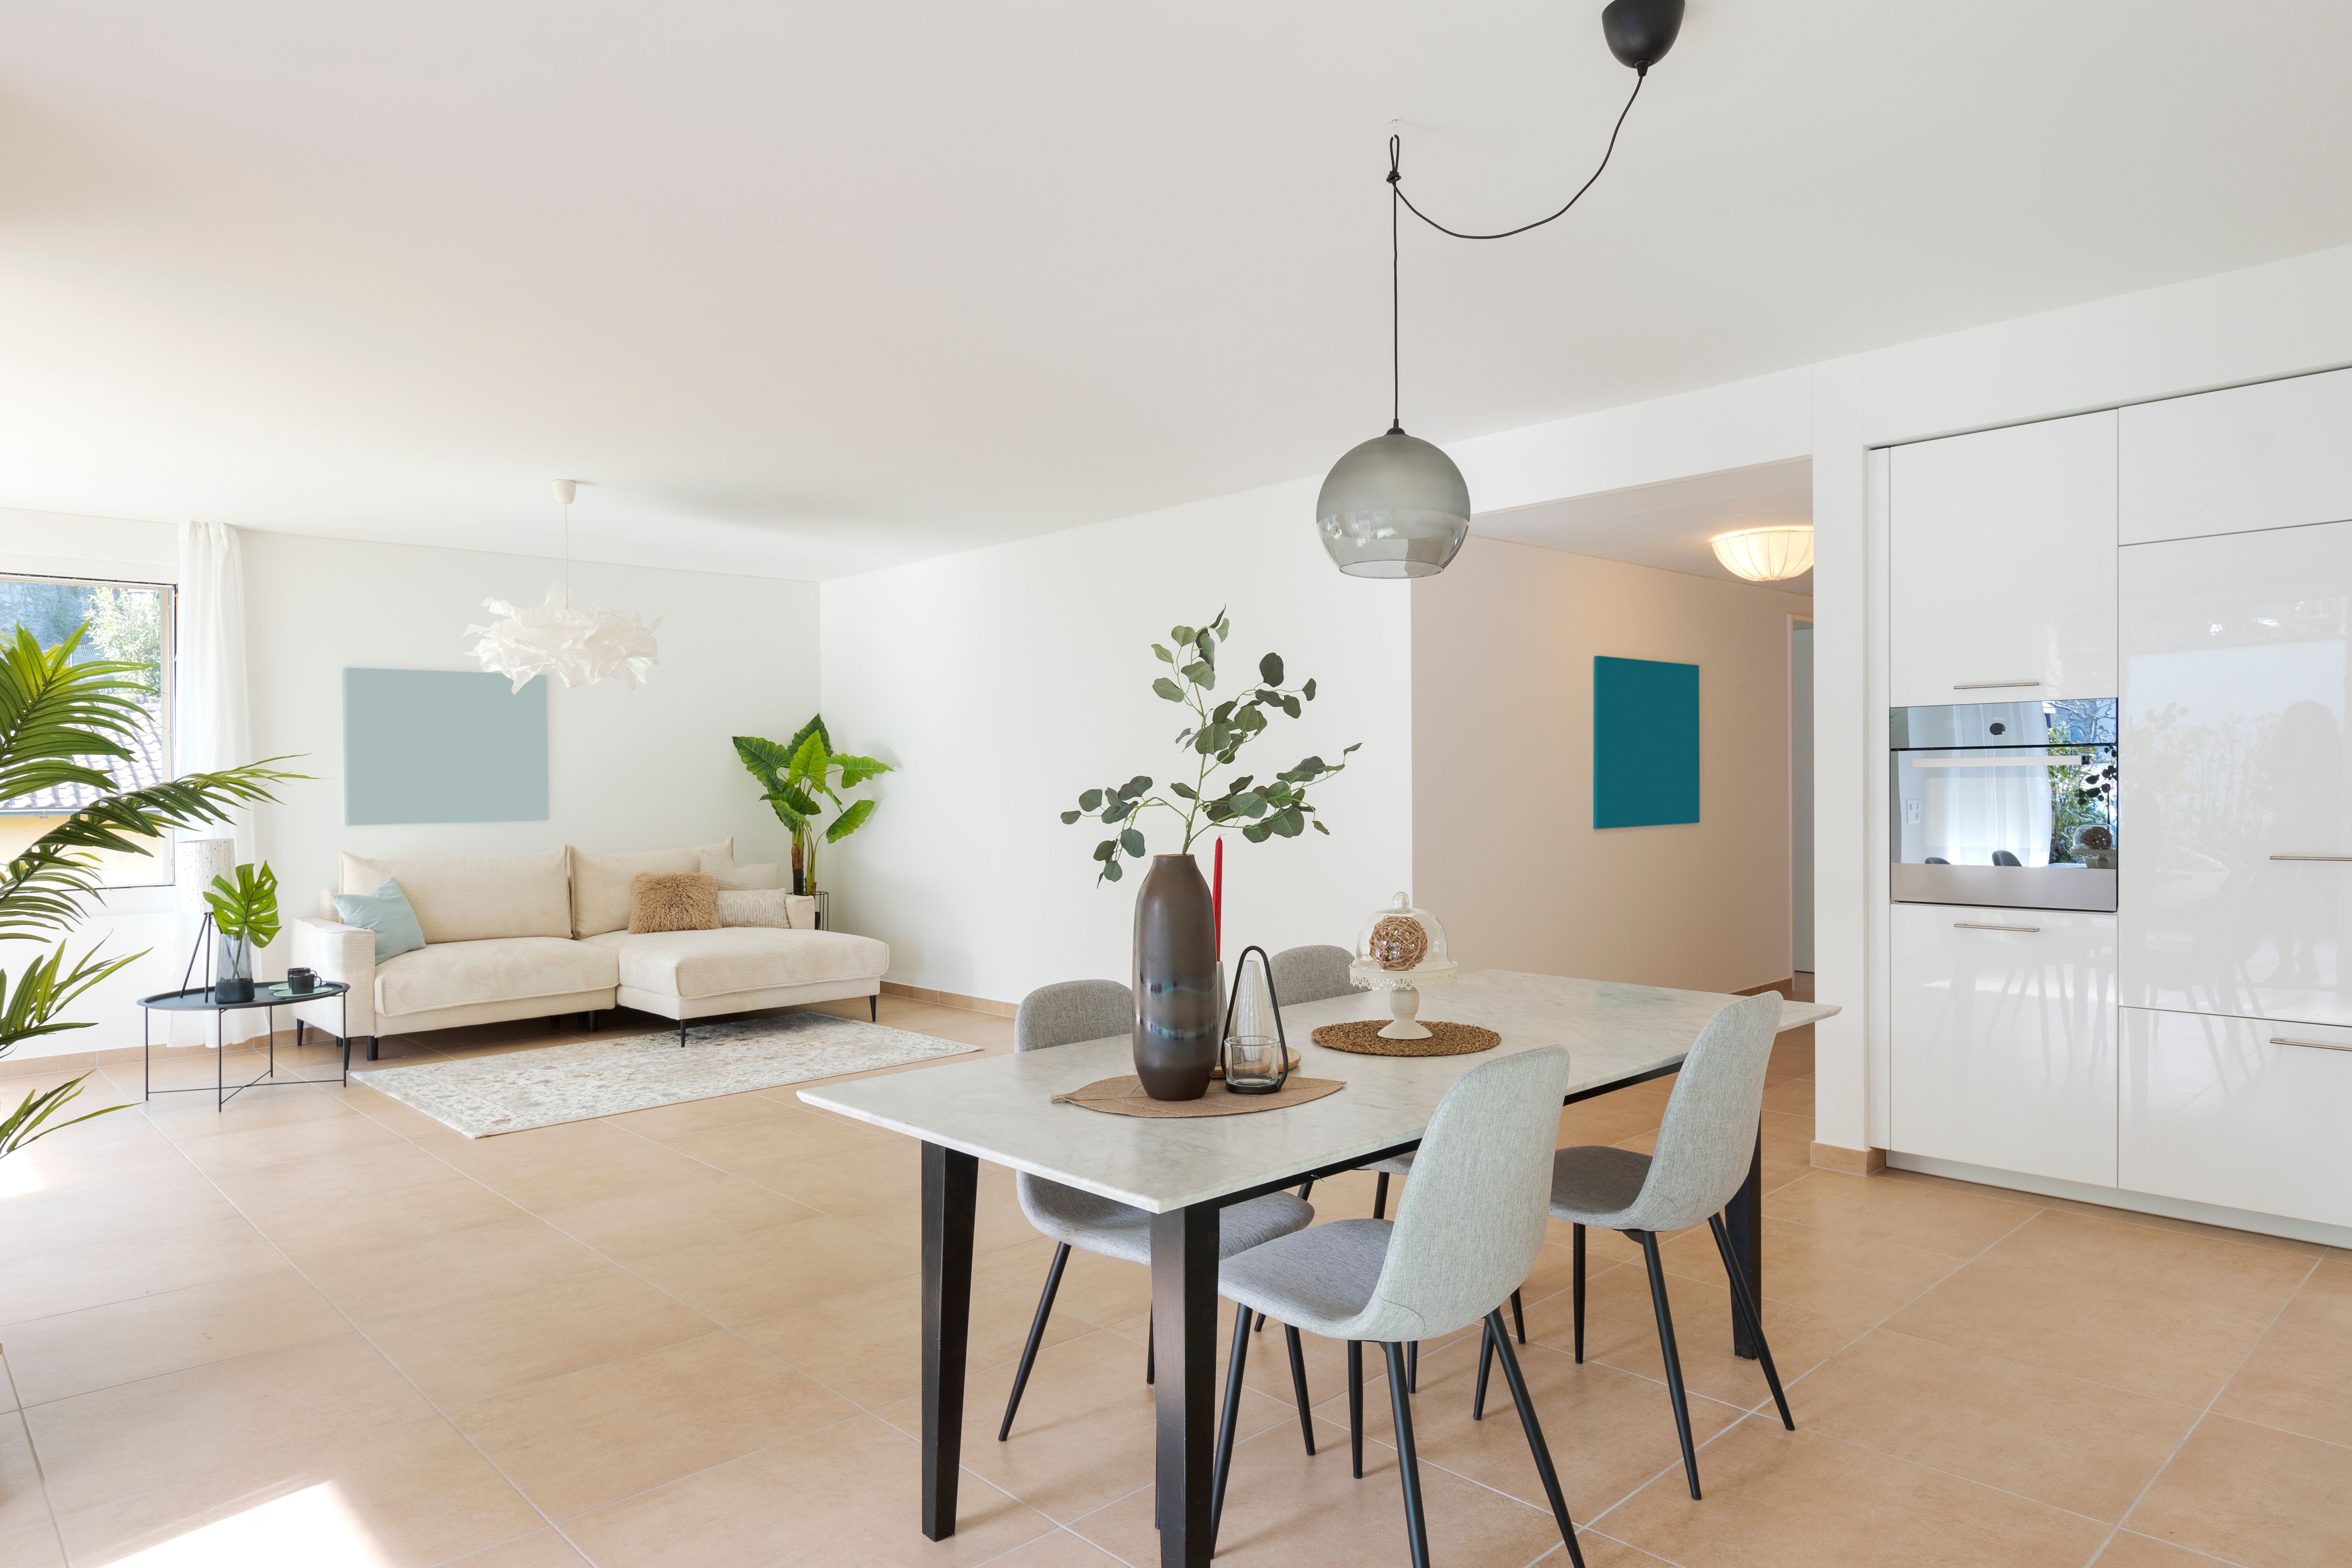
Stage Key Rooms
Staging your home allows you to highlight its best features and help potential buyers visualize the potential of each space. Focus on key areas such as the living room, kitchen, and master bedroom. Arrange furniture to create a natural flow and showcase the room's functionality.
In the kitchen, clear countertops of appliances and add fresh fruit or flowers for a touch of color. In the living room, arrange seating areas to promote conversation and comfort. For the bedroom, use neutral bedding and plump pillows for an inviting look.
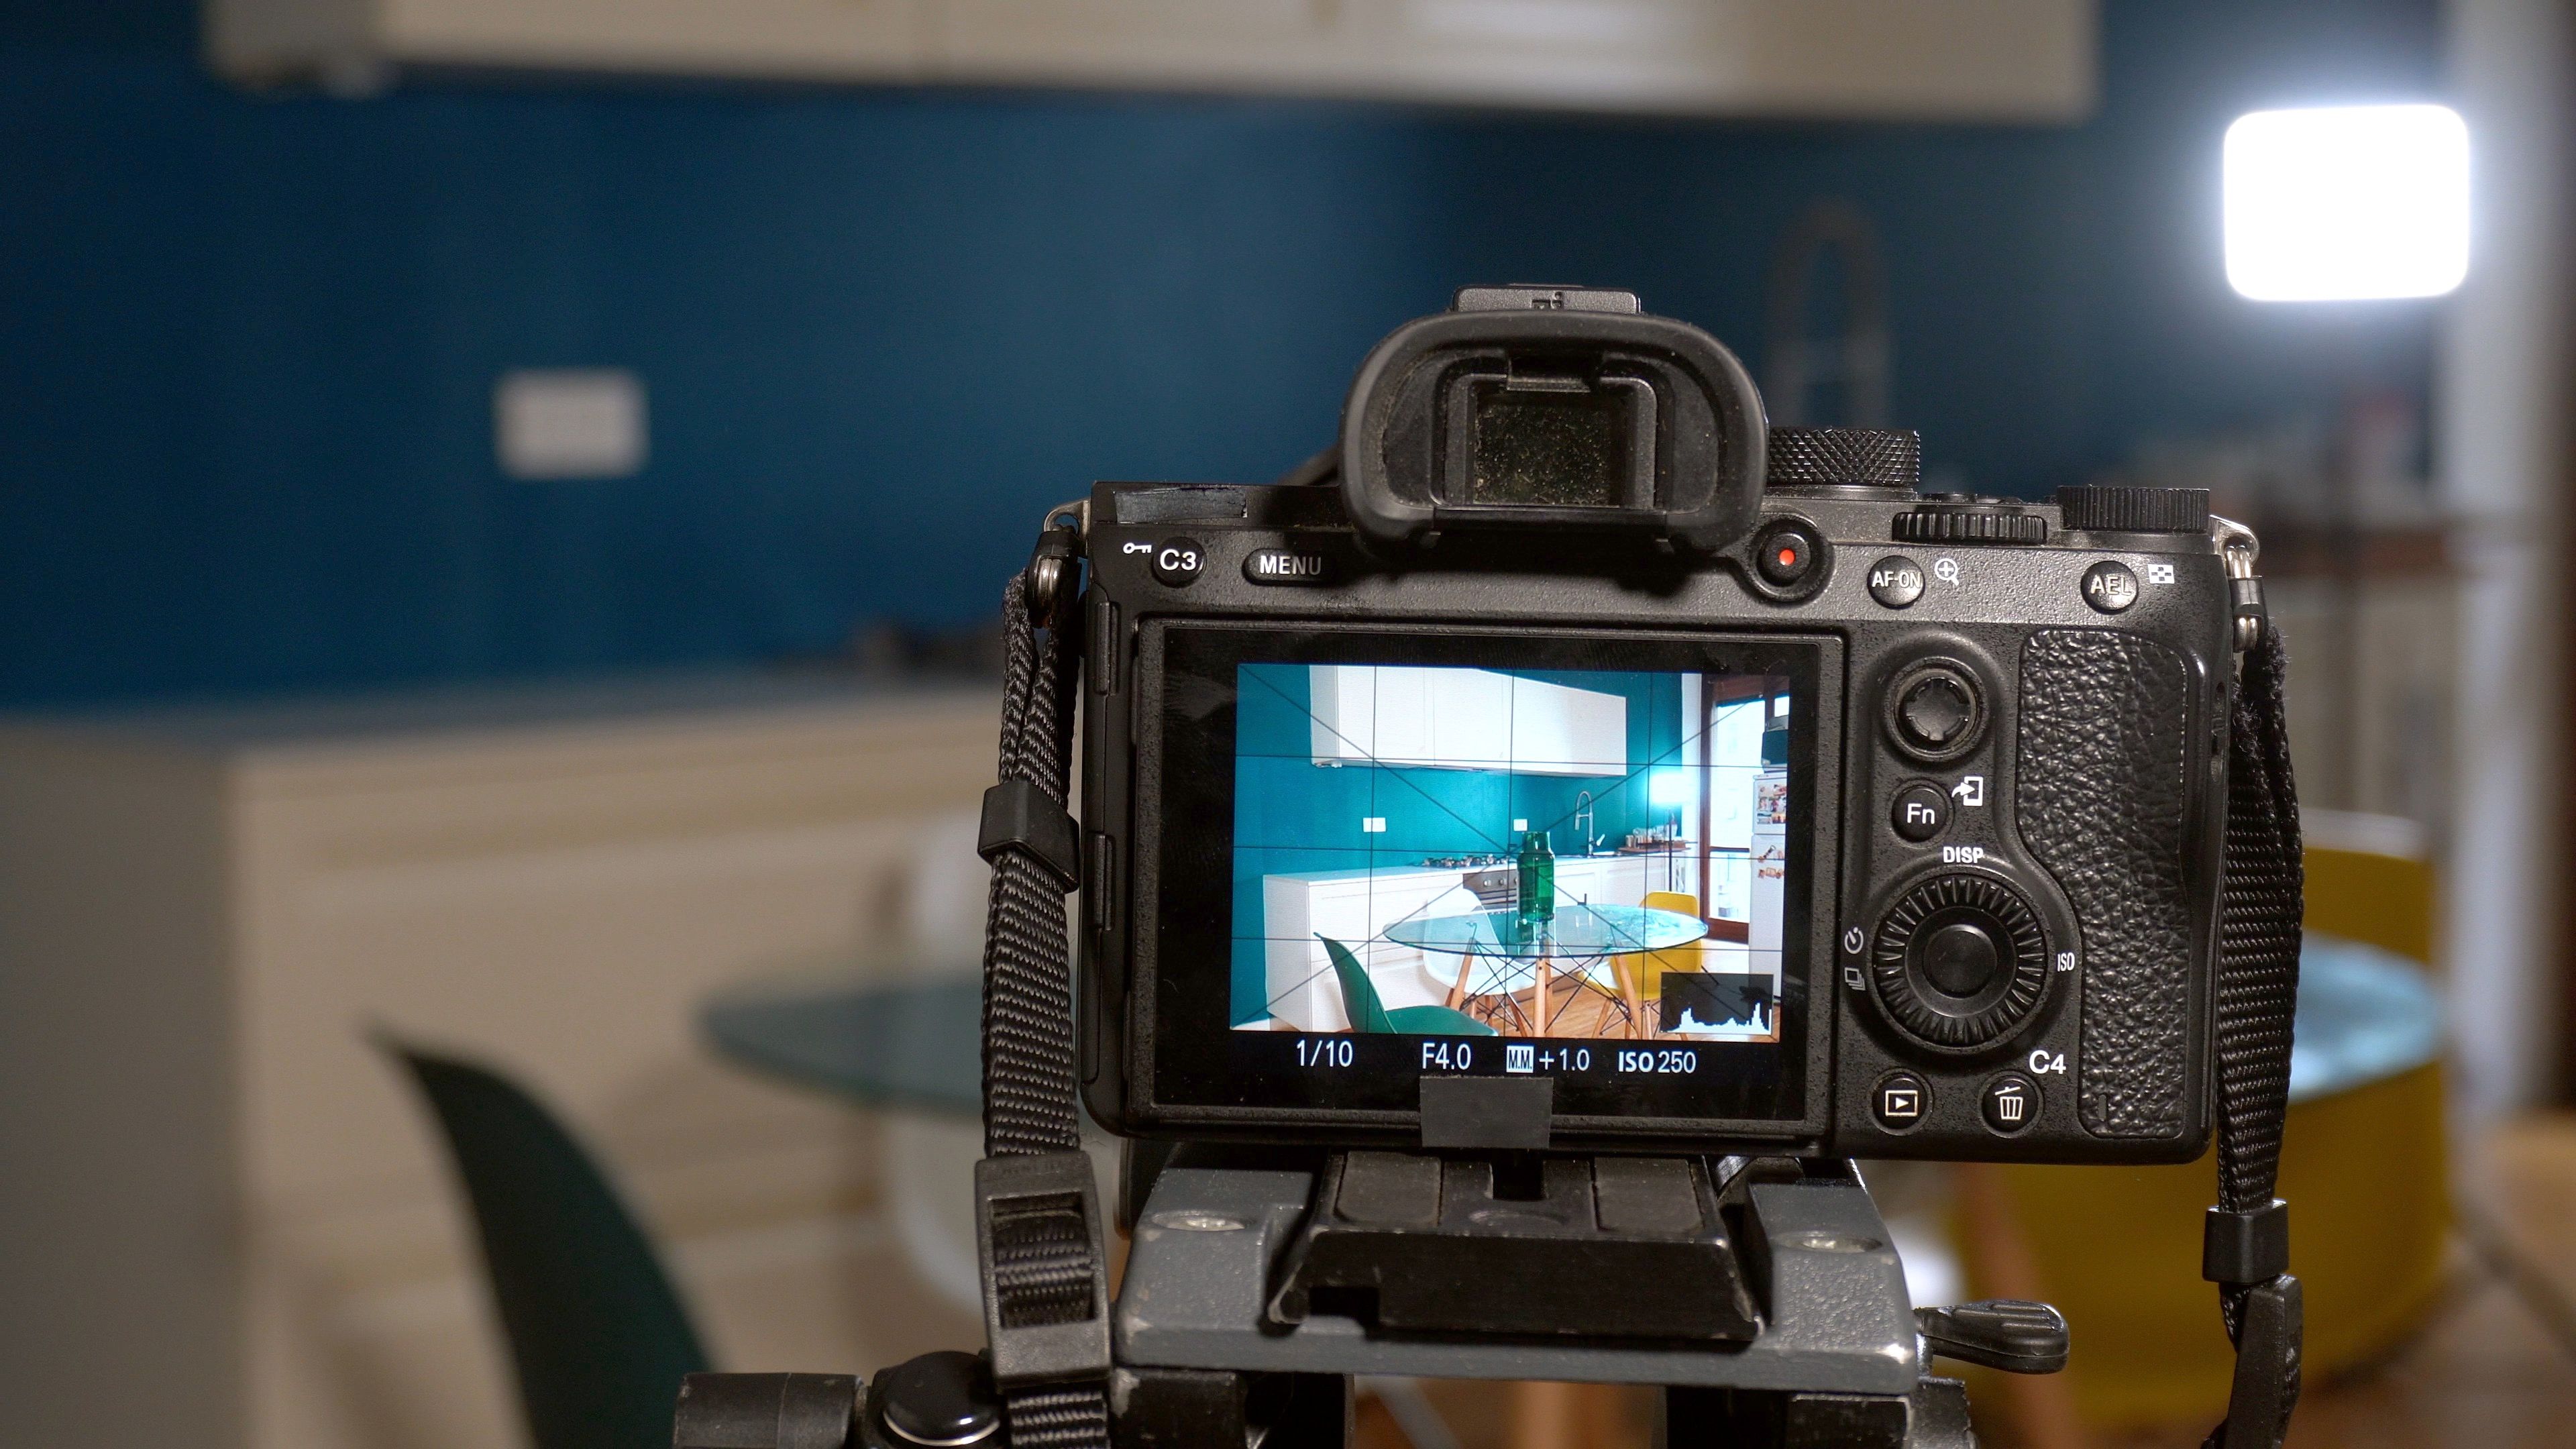
Check Lighting and Ambiance
Lighting plays a crucial role in real estate photography. Open all curtains and blinds to maximize natural light. For rooms that need additional lighting, turn on lamps and overhead lights. However, be mindful of overexposure—avoid using lighting that is too harsh or creates shadows.
If possible, schedule your photo shoot during the day when natural light is at its peak. Soft, ambient lighting can create a warm and welcoming atmosphere in your photos.
Final Touches
Before the photographer arrives, perform a final walkthrough of your home. Double-check that each room is tidy and no personal items are visible. Adjust any crooked picture frames or misaligned furniture.
Consider adding small touches like fresh flowers or scented candles to enhance the ambiance. These elements can create a pleasant environment that translates well into photos, leaving a lasting impression on potential buyers.
By following these steps, you'll be well-prepared for a successful real estate photo shoot that showcases your home's true potential.